





Watering houseplants seems like the simplest task in gardening, yet it is responsible for more houseplant casualties than pests, diseases, and low light combined. Many well-meaning plant parents love their green companions too much, drowning roots with frequent drinks before the soil has had an opportunity to breathe. Mastering how to water indoor plants correctly is the single most valuable skill you can develop as an indoor gardener. In this comprehensive beginner guide, we explore the science behind soil moisture, uncover reliable testing methods, and teach you how to hydrate your houseplants with total confidence.
Why Calendar-Based Watering Schedules Fail
One of the most common mistakes new plant enthusiasts make is following a strict calendar rule, such as “watering every Sunday morning.” While routines are convenient for humans, plants do not operate on a 7-day calendar cycle. A houseplant’s water consumption fluctuates constantly based on dynamic environmental variables:
- Sunlight and Seasonal Hours: On long, sunny summer days, plants actively photosynthesize and transpire water rapidly through leaf pores. During short, dreary winter days, metabolism slows drastically, and soil remains moist for weeks.
- Pot Material and Size: Unsealed terracotta pots breathe and wick water out through porous clay walls, drying soil much quicker than plastic, glazed ceramic, or resin containers.
- Soil Composition: Dense, peat-heavy soil retains water like a sponge, while chunky mixes with perlite, pumice, and bark allow rapid drainage and airflow.
- Indoor Temperature and Humidity: Dry air from winter radiators or summer air conditioning units accelerates soil evaporation, while humid bathrooms preserve soil dampness.
To truly master how to water indoor plants correctly, you must replace rigid calendar schedules with moisture-sensing observations.
Four Reliable Ways to Test Soil Moisture
Before reaching for your watering can, test the soil using one of these four dependable techniques:
- The 2-Inch Finger Test: Insert your index finger about 2 inches deep into the potting mix near the edge of the pot. If the soil feels cool, damp, and clings to your skin, wait a few more days. If it feels warm, dry, and crumbly, it is time for a thorough drink.
- The Wooden Chopstick Test: Slide a raw wooden chopstick or bamboo skewer deep into the root ball and leave it for 5 minutes. Pull it out and inspect the wood. Dark, damp wood with clinging dirt particles means the bottom of the pot is still moist; a clean, dry stick means the root zone is ready for water.
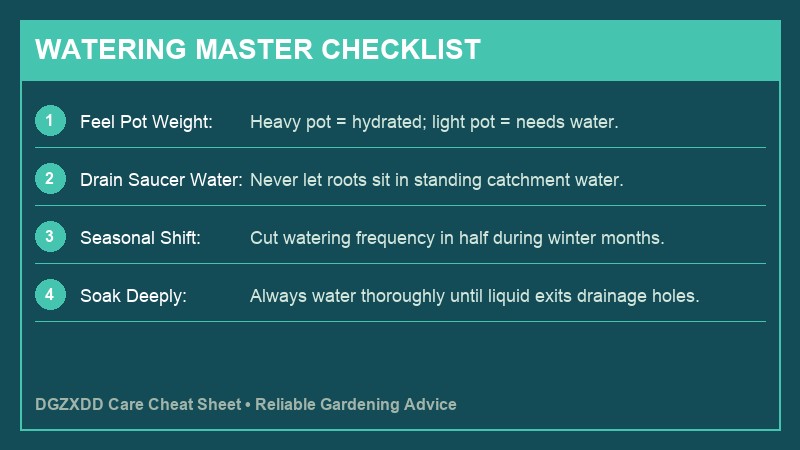
- The Lift and Weigh Method: Get into the habit of picking up your potted plants immediately after a thorough watering to gauge their heavy, saturated weight. Lift them again a week later. With practice, you will instantly know if a plant needs water simply by feeling its weight.
- Soil Moisture Meters: An analog moisture probe with two metal prongs can measure electrical conductivity in the soil, providing a numeric reading from dry (1) to wet (10). Wipe the probe clean after every test to maintain accuracy.

Top Watering vs. Bottom Watering: Which Is Better?
When learning how to water indoor plants correctly, understanding watering techniques is just as important as knowing when to water. Both top watering and bottom watering offer distinct advantages:
Top Watering (Traditional Method)
Top watering involves pouring water evenly over the entire surface of the soil using a narrow-spout watering can until water runs freely through the bottom drainage holes.
- Best For: Flushing accumulated mineral salts and fertilizer residues out of the potting mix.
- Best Practices: Always water the soil, not the crown or leaves, to prevent fungal spots and rot. Empty the drainage tray after 15 minutes so the plant never sits in stagnant water.
Bottom Watering (Sub-Irrigation)
Bottom watering involves placing your potted plant into a shallow basin or sink filled with 2 to 3 inches of lukewarm water. Capillary action naturally draws moisture upward through the drainage holes directly into the root zone.
- Best For: Plants prone to crown rot (such as African Violets, Begonias, and Peperomias) and potting soil that has dried out so thoroughly it has become hydrophobic (repelling top water).
- Best Practices: Leave the pot in the water for 20 to 30 minutes until the top surface feels slightly cool to the touch. Remove the pot and allow excess water to drain completely.
Water Quality Matters: Tap, Filtered, or Rainwater?
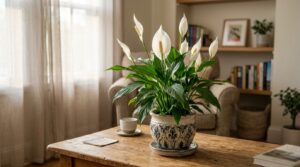
The type and temperature of the water you use can dramatically affect plant health. Many sensitive tropical species—including Calatheas, Spider Plants, Dracaenas, and Peace Lilies—are vulnerable to chemicals in municipality tap water.
- Chlorine and Fluoride: Municipal tap water often contains added chlorine and fluoride. Over time, fluoride builds up in leaf margins, resulting in permanent crispy brown tips. Using filtered water, collected rainwater, or distilled water keeps sensitive foliage pristine.
- Water Temperature: Never shock tropical root systems with ice-cold tap water directly from the faucet in winter. Cold water shocks delicate root hairs and can trigger sudden leaf drop. Always use room-temperature or lukewarm water.
Common Watering Problems and Simple Solutions
Observing leaf language helps you quickly troubleshoot moisture imbalances before lasting damage occurs:
- Problem: Yellow, Limp Foliage with Stems Soft at the Base
Cause: Overwatering and early root rot.
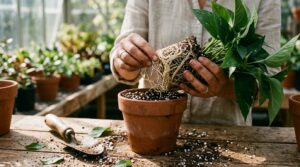
Solution: Stop watering immediately. Ensure drainage holes are not blocked. Allow the pot to dry out completely, and if necessary, unpot and trim mushy roots. - Problem: Crispy Brown Leaf Tips and Drooping Stems
Cause: Prolonged underwatering or low ambient room humidity.
Solution: Give the plant a thorough, deep watering session. If the soil has pulled away from the sides of the pot, bottom water for 30 minutes to rehydrate the peat. - Problem: Water Runs Straight Through the Bottom in Seconds
Cause: Hydrophobic soil. When peat-based soils dry out completely, they contract and repel water, allowing it to bypass roots and escape down the pot edges.
Solution: Aerate the soil gently with a wooden chopstick and bottom water for 30 to 45 minutes until the soil mass softens and rehydrates. - Problem: Swarms of Tiny Black Flies Around Soil (Fungus Gnats)
Cause: Top layer of soil remains perpetually damp, providing ideal breeding grounds for larvae.
Solution: Allow the top 2 inches of soil to dry completely between waterings. Use yellow sticky traps and water with diluted neem oil or mosquito bits.
Golden Rules for Successful Plant Hydration
Keep these fundamental rules in mind every time you care for your collection:
- Always use pots equipped with functioning drainage holes.
- Never allow a potted plant to sit in a saucer of stagnant standing water for more than 30 minutes.
- Water deeply and thoroughly until liquid escapes the drainage holes; avoid frequent superficial sips that only moisten the top inch.
- Reduce watering frequency by roughly 50% during the shorter, cooler days of autumn and winter.
Quick Seasonal Watering Cheat Sheet
Because environmental conditions vary throughout the calendar year, adjust your approach to how to water indoor plants correctly according to the seasons:
- Spring (Awakening): Days grow longer and temperatures rise. Plants break dormancy and initiate tender new leaf shoots. Increase watering frequency gradually as the soil begins drying out faster.
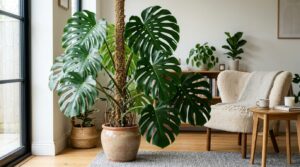
- Summer (Peak Growth): Maximum heat and intense light drive vigorous water consumption. Check moisture levels twice a week for fast-growing tropicals like Monsteras and Pothos. Water thoroughly early in the morning before midday heat intensifies.
- Autumn (Slowing Down): Day lengths decrease and interior heating begins drying ambient air while cooler soil temperatures slow root activity. Taper off watering frequency and allow an extra couple of days of dryness between drinks.
- Winter (Rest Period): Most houseplants enter a natural semi-dormant resting phase. Root absorption drops to its lowest annual rate. Cut watering by nearly half, allowing desert plants like Snake Plants and ZZ Plants to go four to six weeks between waterings.
If excess water has already caused limp, discolored leaves, consult our urgent rescue guide on how to save an overwatered plant and see our detailed breakdown of why are my plant leaves turning yellow. Pair your watering routine with the best soil mix for indoor plants.
Horticultural Reference: Explore professional moisture guidelines from the Royal Horticultural Society (RHS) Houseplant Watering Advice.
Conclusion: Listen to Your Plants
Understanding how to water indoor plants correctly is less about following rigid rules and more about developing an intuitive connection with your green companions. By taking a few moments each week to feel the soil, lift the pots, and observe leaf posture, you will effortlessly provide the exact moisture your plants crave. With mindful watering practices, your houseplants will reward you with steady, lush growth and vibrant greenery for years to come!


